Lipsticks and Packaging

L to R: Taupe, Rust, Purple, Green
As you can see, each of the bullets has a different shape because you can pick between these four shapes, and I wanted all of them. What you cannot see is that each of the lipsticks has a different scent, since you are also allowed to choose the scent of the lipsticks in the lab. I did not put the lipsticks up all the way because I have damaged lipsticks in the past by doing that and then being clumsy, but each lipstick contains the normal amount of product (0.15 oz/4.3 g).
Arm Swatch (sunlight)

L to R: Taupe, Rust, Purple, Green
Arm Swatch (indoor lighting)

L to R: Taupe, Rust, Purple, Green
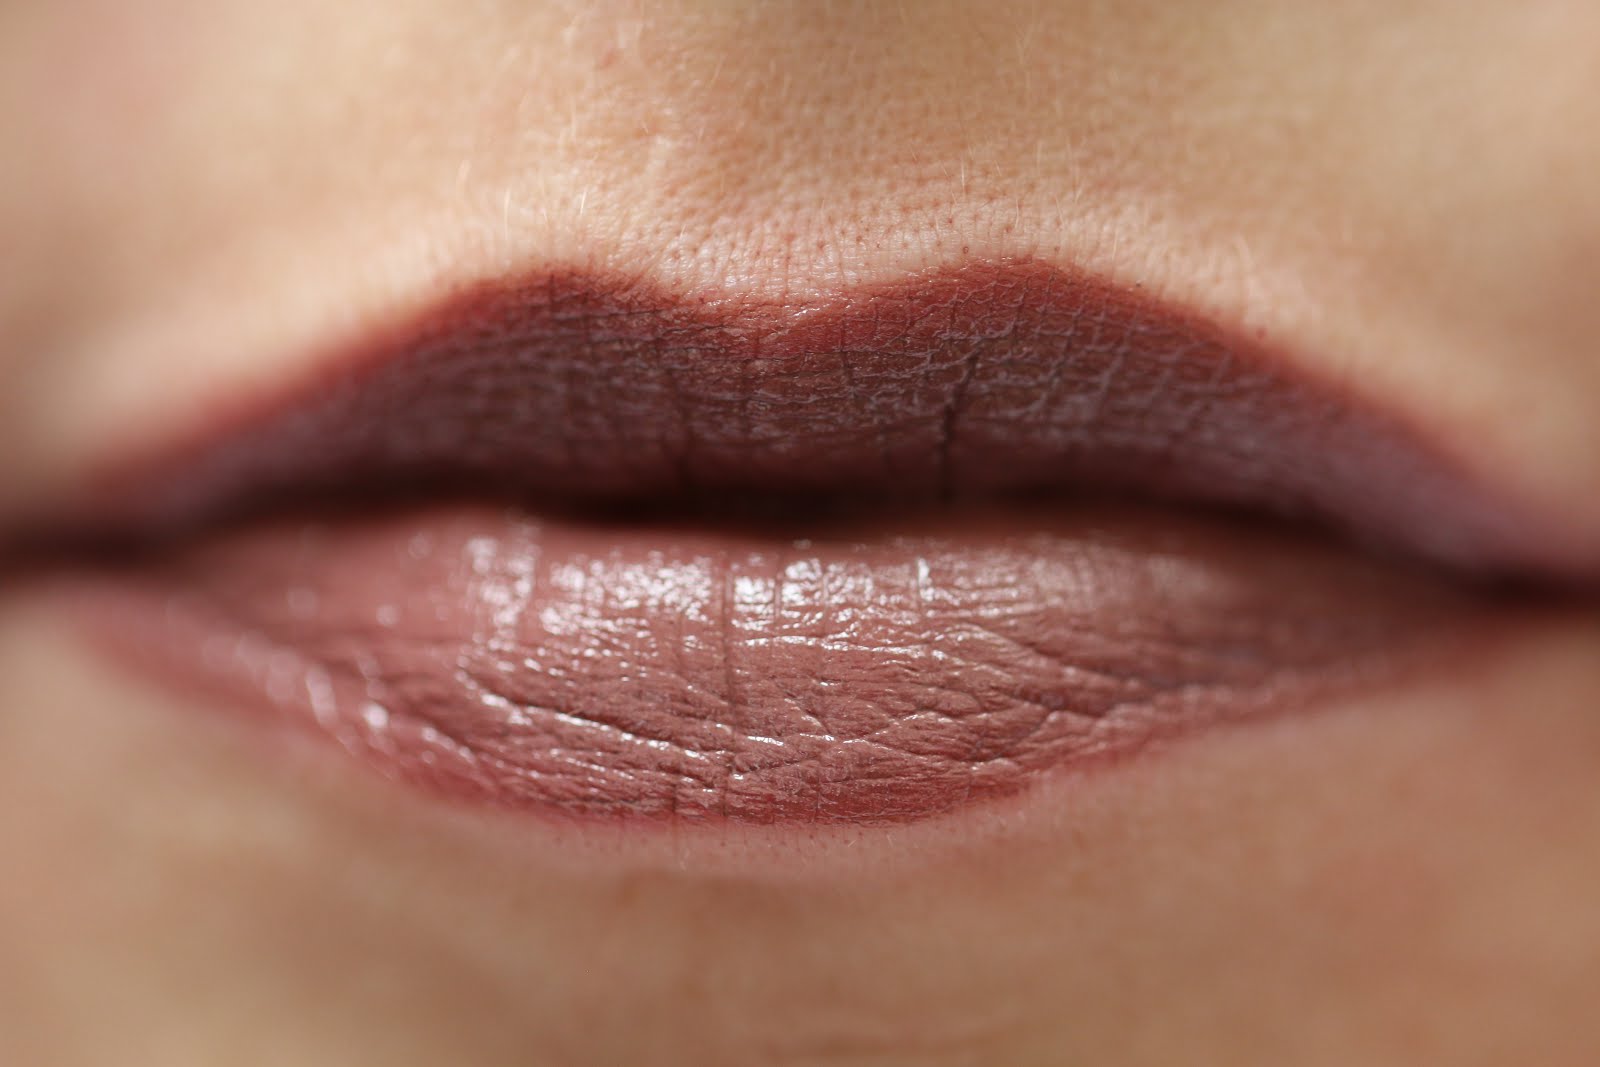
My Naked Lips (for comparison)

Here are my naked lips. Sometimes the pigmentation varies from day to day or even from hour to hour, but this is more or less what they look like most times.
The swatches below are only with the lipsticks - no liner and no primer - so that you can get a true representation of the color of the lipsticks.
Taupe
This was the first color I had made. I was looking for a sort of greige color that was more taupe than beige. The BITE makeup artist got this one on the first try. I was in love! I chose the matte finish for this and for all of my lipsticks, but you can choose other finishes. I just happen to gravitate toward more matte finishes. That being said, BITE's lipsticks are never really 100% matte, but they are the most comfortable lipsticks that I have that come close to being matte. All of them are creamy and fully opaque in one swipe. This one is a beautiful color for everyday office wear or for whatever. Although most people would probably also suggest a liner, I normally don't line my lips with this one.
Because I got this before BITE came out with the Sweet and Savory line of Amuse Bouche lipsticks, I am eager to compare this one to Thistle, as I think it could be similar. Thistle is waiting for me at my parents' house, but because I live overseas, I won't be able to compare until probably next year.
Rust

I love this color. I had been looking for something more rusty than the brown-toned red Braised Maple lipstick that I love from BITE, and this is right on. The first try was a bit darker, but this color only required a bit more yellow, and in two tries, it was ready to go. This one should be used with a liner, but I am not always that good about that.
This formula seems to be slightly lighter than the Maple Matte Créme lipsticks that were Canada exclusives, but it is very comfortable and has good staying power.
Purple

The inspiration for this lipstick was Illamasqua's Kontrol, which is my favorite blue-toned purple color. I was just looking for a formula slightly less drying than Illamasqua's matte formula, and this is a great alternative. This is not an exact dupe of Kontrol, but it is fairly close, and in any case, it is a gorgeous color.
As an aside, I had only planned on making the Taupe and the Rust lipsticks in the lab, but because they were finished within 10 minutes, the BITE makeup artist told me that I could "play around" with other colors "just for fun," and I ended up buying two more colors.
This one also only took two tries before it was basically what I wanted, so the process is quite quick.
I am also curious to see how this color compares to Taro and Berry Rouge, which both came out after my trip to the lab. Those are also waiting for me at my parents' house.
Green

When I went to the lab, I was wearing an olive green sweatshirt, and I thought it would be fun to make a color that would go with it. Although this is not quite olive, it is a sort of teal-olive green that I really enjoy. I realize that this is the least wearable of all of the colors, but I am still happy that I got it.
This seems to be much lighter green than Kale from the Amuse Bouche line, but I will have to compare when I go back next year to verify.
Overall, my trip was a fantastic success, albeit an expensive one. I ended up getting two of the first two colors because if you buy two of the same color, the two lipsticks cost $60 USD, whereas each individual lipstick costs $45 USD. I justified getting two of each because I gave my mom the doubles, and she was very excited about her custom-made lipsticks.
Because I only got one of the purple and one of the green one, each of them were then $45 USD. Obviously, you can do the math to figure out how expensive this little outing was, but I still think that it was well worth it to get to make my own lipsticks and decide what scent, what bullet and what finish each has. In addition, you are given a recipe card with the color formula on it so that if you run out of your lipstick, you can have that color re-made.
BITE is opening a Lip Lab in Toronto, Ontario, Canada soon, and I absolutely plan to visit that lab in the future to make new lipsticks and compare lab experiences.
Here is the BITE website with links to the lip lab, where you can schedule your personal appointment: http://bitebeauty.com/
Disclaimer:
I was not given any financial or material incentives for this review. All opinions expressed herein are my own.
Keine Kommentare:
Kommentar veröffentlichen